There’s never been a better time to get into home recording. We’re living in a golden age of choice and you’re guaranteed to find the right setup for you, no matter what you’re budget and needs are. Today, we’re going to provide you with some of our best tips for getting your home studio up and running!
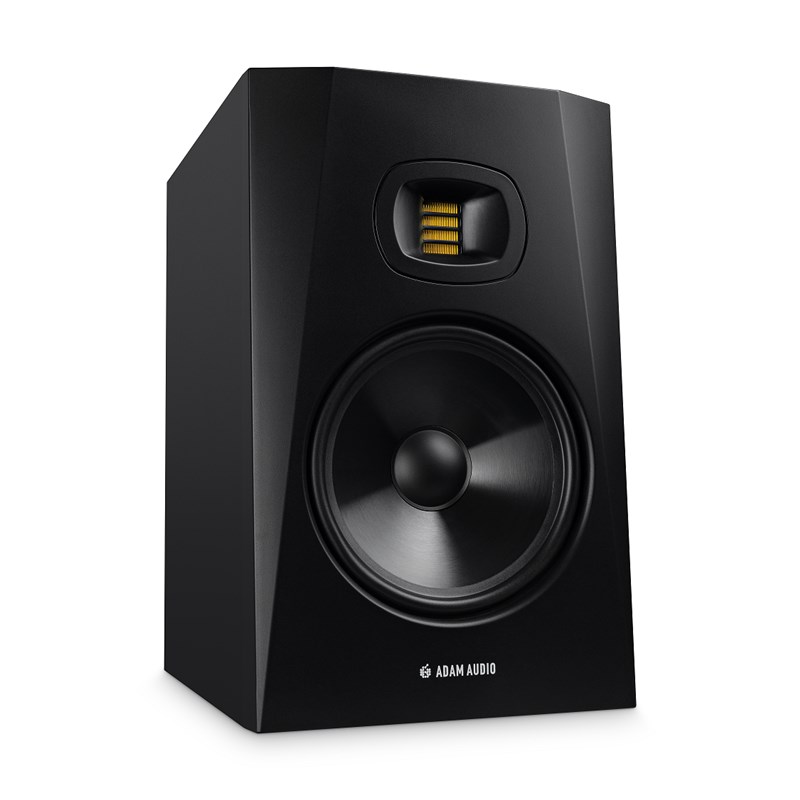
First, let’s take a look at monitor placement – a seemingly minor detail that has a significant impact. It doesn’t matter how much money you’ve sunk into your monitors (like the Adam Audio T8V), you won’t be getting the best out of them if you don’t consider this aspect. These two basic tips are a great starting point and will get you on your way to making well-balanced mixes:

- The Equilateral Triangle Method: Start by placing your monitors in a way that forms the shape of an equilateral triangle with your head, as this will give you a sense of the “standard” stereo width that other studios use.
- Point your monitors directly towards your head and put them at ear level: High-frequencies are known to be very directional in comparison to low-frequencies, this means that your tweeters will sound a lot better when they’re pointing directly at you.

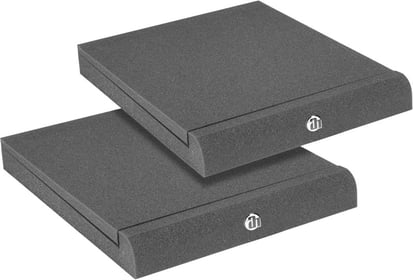
A good set of adjustable speaker stands will make finding the perfect position for your monitors a lot easier, we recommend checking out the Adam Hall SKDB039 (catchy name, right?). A lot of workspace desks (especially the ones made out of wood) will produce disturbing resonances. A set of isolation pads are a small investment and will acoustically isolate your monitors, regardless of what surface you put them on.
Next, we’ll explain the importance of acoustics and treating your chosen space.
The importance of room acoustics is often overlooked and is arguably one of the most crucial elements in getting the best sound quality. Don’t be dismayed if you don’t have bags of knowledge on the subject, it isn’t as scary as you may think!
Unlike a professional recording studio, your bedroom/living room/garage/etc likely wasn’t designed with acoustics in mind. The vast majority will have an undesirable natural reverb that you won’t want to impart on your recordings. Ideally, you want the ability to record your instruments and vocals with as little reverb as possible, as you can then use a nice software reverb to emulate any space you can conceive of! With just a bit of acoustic treatment, you can quickly and easily improve the sound of your room.
Some simple foam panels on the wall will absorb sound reflections, particularly handy if you have wooden/tiled floors. This means that when you’re using a microphone to record (particularly a sensitive condenser mic), the direct sound of the instrument or voice isn’t going to be coloured by the natural reverb of the room. The “dryer” your recordings are, the easier it is to use plugins (such as the version of Relab LX480 that comes with the Hitmaker Expansion) to add the right amount of ambience.
If you’re serious about setting up your space for recording, mixing and monitoring, it’s worth looking into Bass Traps, Acoustic Panels and Diffusors (in that order).
We recommend prioritising Bass Traps if you’re on a budget, as bass frequencies as usually the most problematic in smaller home-studio setups. Many designs also absorb mid and high frequencies, which make them a lot more versatile than their name implies. Acoustic Panels are next on the list, as they aren’t suitable for absorbing low frequencies but are an ideal supplement once you’ve installed Bass Traps. Once you’ve covered the sound absorption of your room, you can use Diffusors to treat any reflections. Some companies offer all-in-one room packages which will save you having to buy all the elements individually.
It’s possible to transform any room of your home into a world-class recording studio space with the optimal combination of absorption and diffusion!

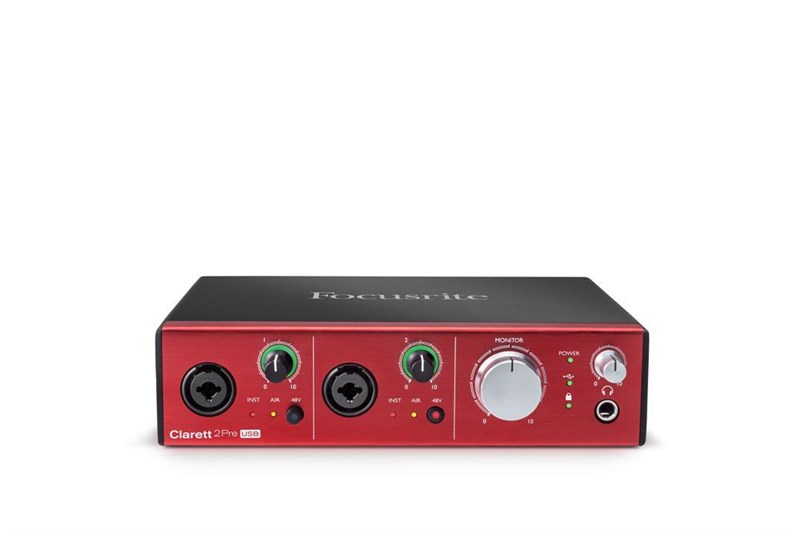
If you’re solely recording vocals with your mic, record your guitars/keys/any instrument that doesn’t require a microphone directly into your interface (like Focusrite’s Clarett) and aren’t relying on your monitors for mixing – a simpler and cheaper solution is a reflection filter such as the Vicoustic Flexi Screen Ultra MKII. With one of these, you’re creating the ideal recording environment for your vocals without having to treat your entire room.
Now we’ve got our monitors in place and our room has been treated, we can start recording! The type of microphone you choose to record with is an important decision and the vast amount of options can be overwhelming, we’ll go over the two main types that are used for home recording and give you some recommendations:
Dynamic mics are versatile, durable and aren’t as sensitive as condenser mics. This is why they’re often used at live shows as they can handle louder sounds and their unidirectional pickup pattern helps to isolate the main sound, whilst reducing background noise. Sonically, dynamics aren’t as “pretty” as condenser microphones and are often used on instruments with a low-mid focus. This makes them less suited to recording low-end instruments (though Kevin Parker of Tame Impala has apparently used them to record his kicks). The way they’re constructed makes them cheaper to produce and incredibly sturdy. They’re workhorse mics and versatile, they can be used to record vocals and instruments with ease.
Here are a couple of our favourite choices for dynamic microphones:
- Shure SM57: Put simply, this microphone is a classic and will get a great sound from anything you put in front of it. They’re also incredibly affordable and are suitable for recording everything from vocals to drums to guitar amps.
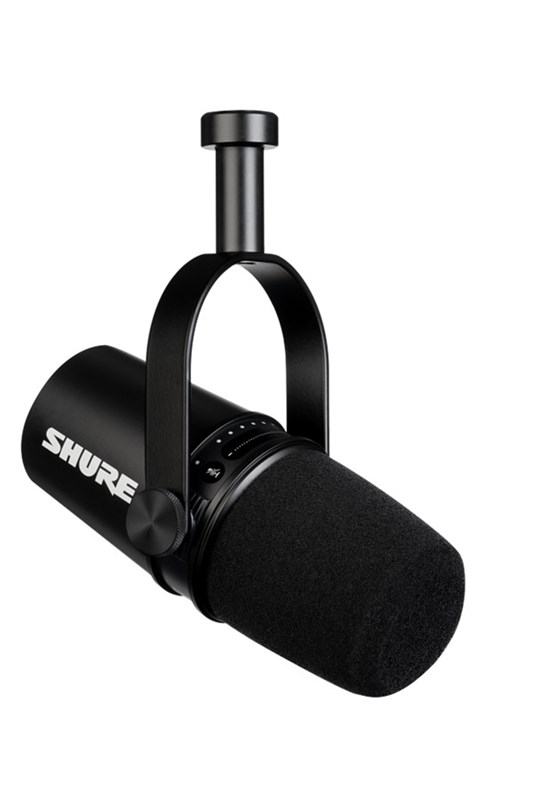
- Shure MV7: This is an excellent dynamic microphone that sounds particularly good with vocals, due to its intuitive software capabilities when used via USB, and can also record instruments astoundingly well with the XLR output.
Though condenser mics are more temperamental and sensitive than dynamic microphones, the trade-off is that they are able to pick up all the nuances of what you’re recording. They can also be bidirectional and omnidirectional, allowing more creative micing techniques. This is one of the reasons why they’re often used in pro studios where the recording environment is closely controlled. If you opt for a condenser mic, take care to avoid recording anything high volume and dropping it as damage to the large diaphragm can damage it. Their accurate, detailed nature makes them especially suited for vocals and their wide frequency range means they work great for recording kick drums and bass instruments. If you want to capture the sonic character of whatever you’re recording, a condenser is the way to go. Make sure your interface has “phantom power” as most condenser microphones require them to work.
Check out our recommendations for condenser microphones:
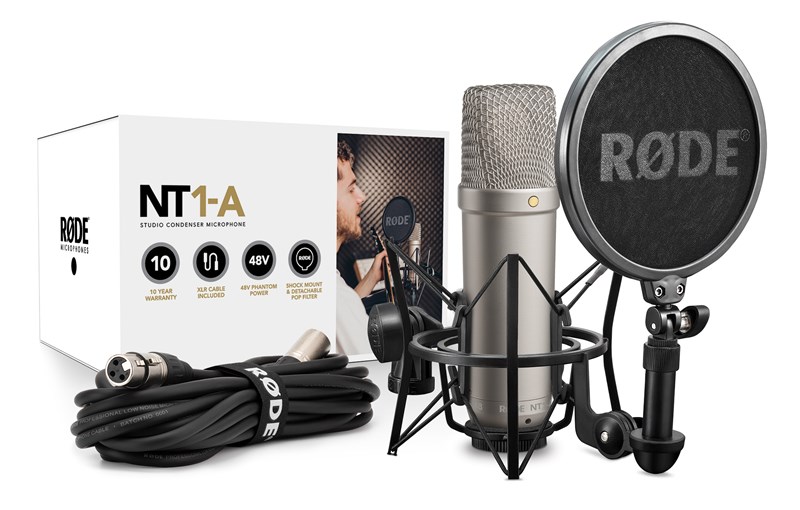
- Rode NT1-A Complete Vocal Recording Solution: This package is one of our best sellers and is a cracking option for those looking to start their home studio. It’s keenly-priced and comes with a flexible condenser mic, XLR cable, shock mount and pop shield.
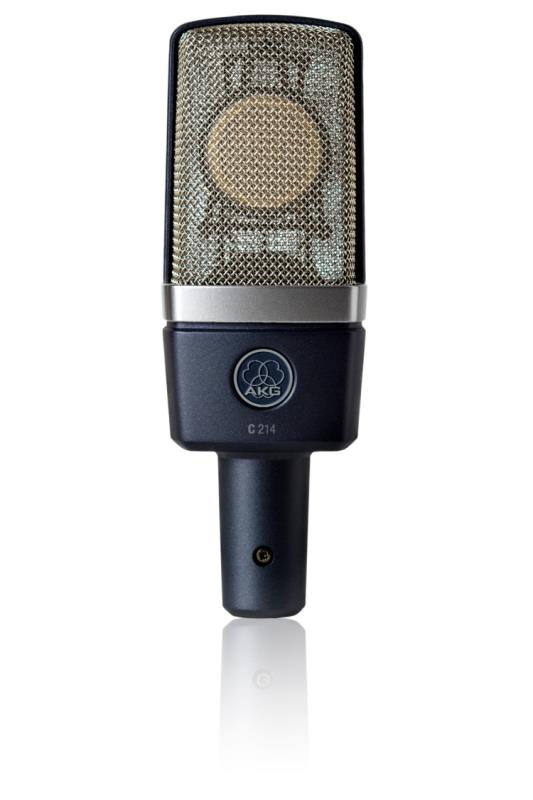
- AKG C214: The C214 is a large diaphragm condenser and was designed as a more attainable version of the legendary C414 family. Like the C414 series, the C214 is able to withstand high sound levels from sources such as guitar amplifiers though retains the sensitivity and detail that’s needed for recording voice and orchestral instruments.
So there you have it, now you know how to position your monitors, acoustically treat your room and what type of microphone will suit your setup. It’s possible to go significantly deeper into each of these topics but we hope that these tips will help you with your home recording endeavours and get you making the best music you can!
